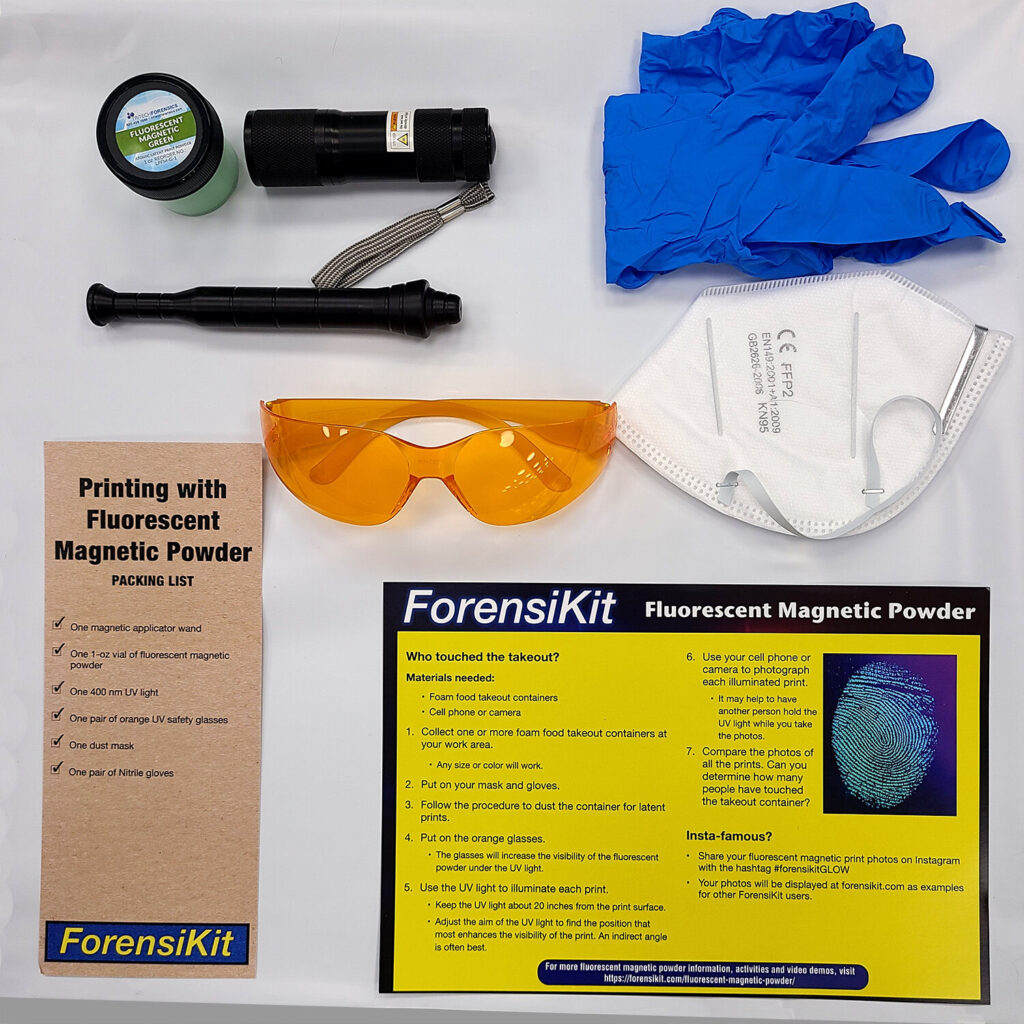
The ForensiKit: Printing with Fluorescent Magnetic Powder box includes
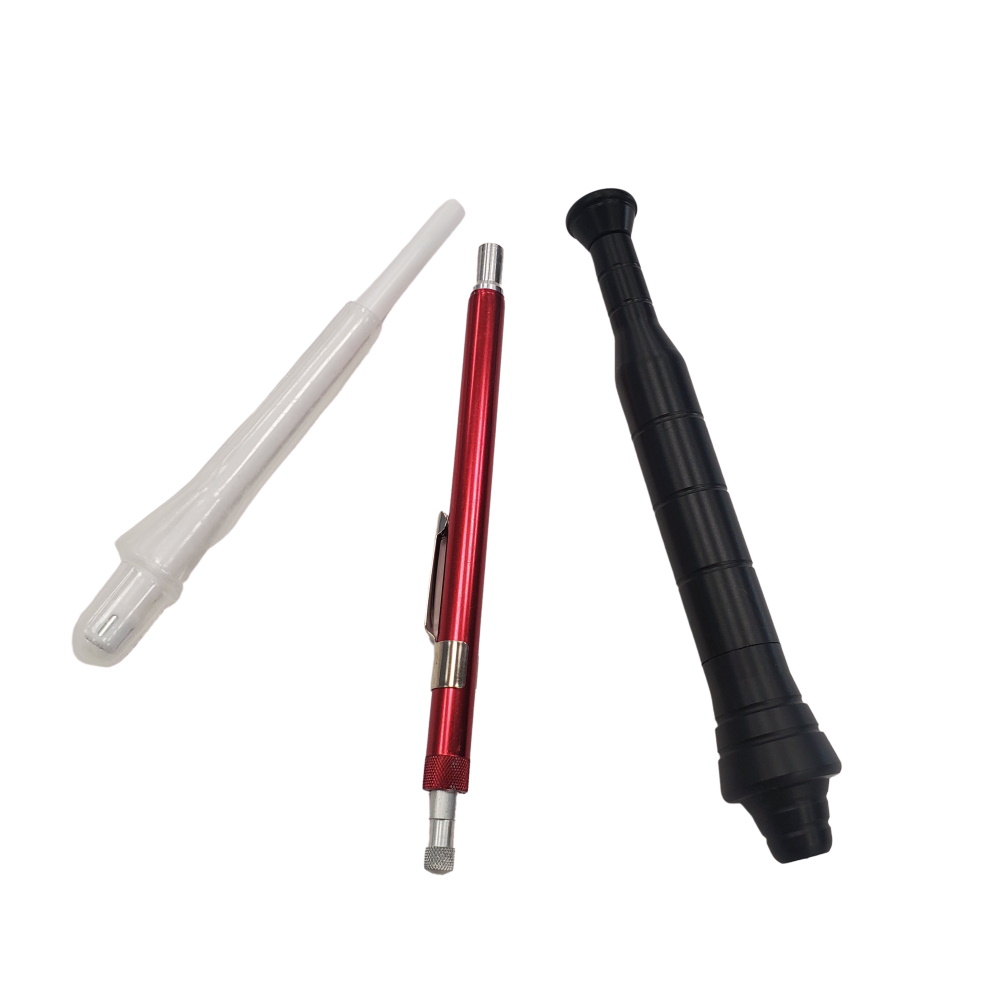
- One magnetic applicator wand
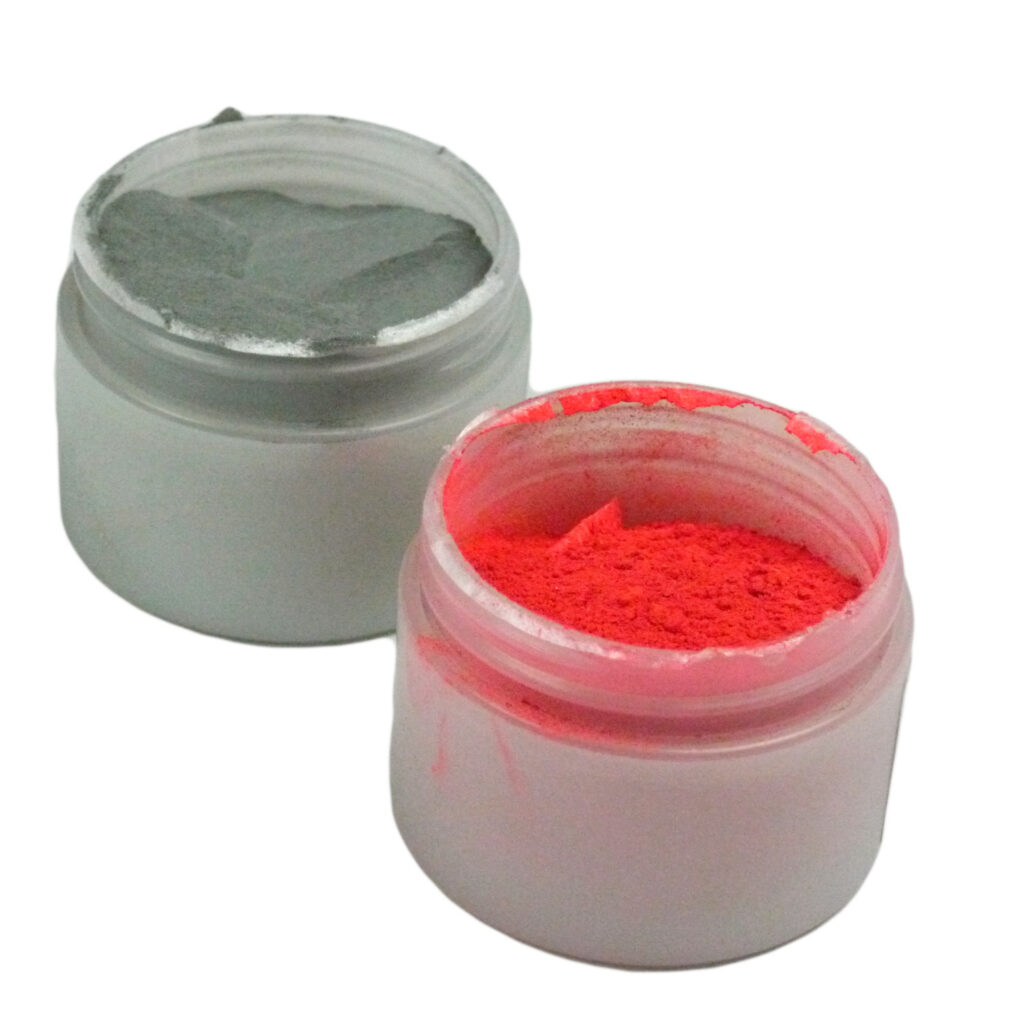
- One 1-oz vial of fluorescent magnetic powder
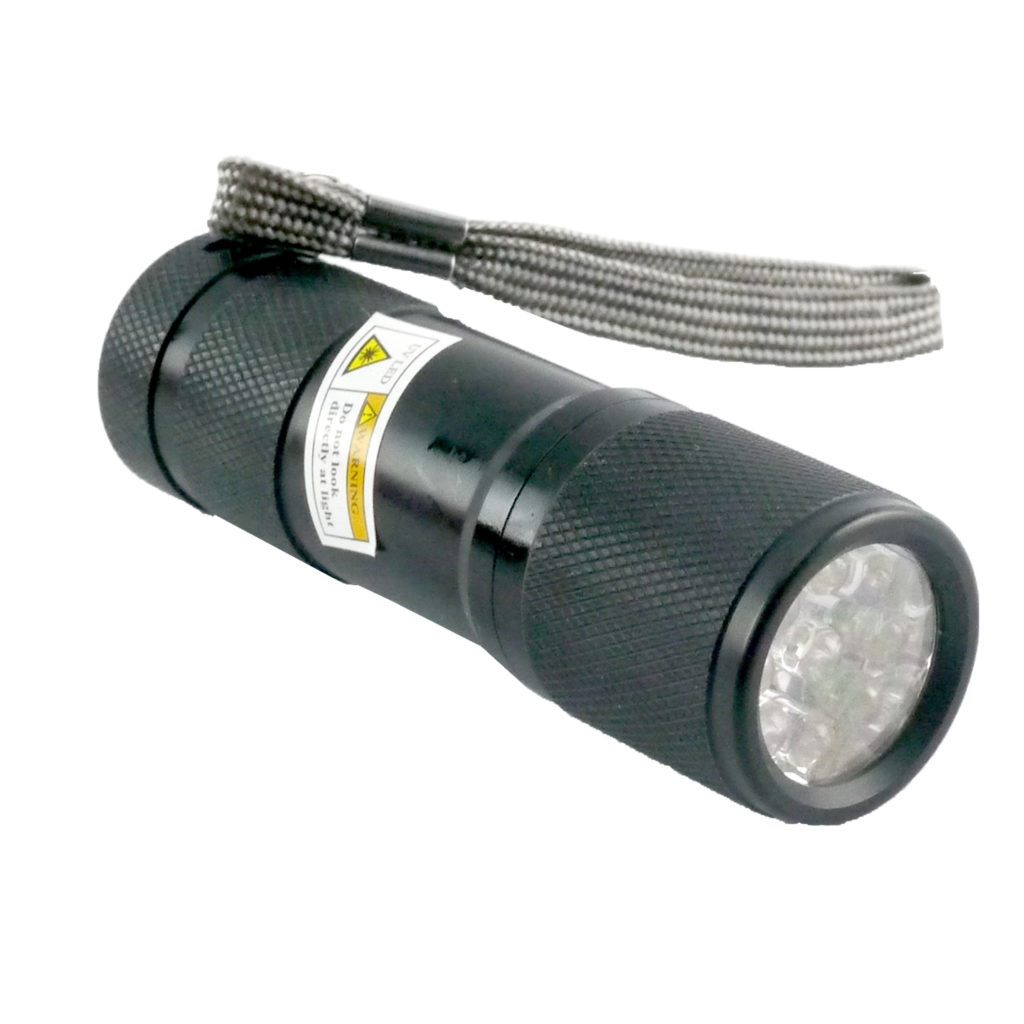
- One 400 nm UV light
- One pair of orange UV safety glasses
- One dust mask
- One pair of Nitrile gloves
- One activity insert (Download another copy [PDF])
- One packing list (Download another copy [PDF])
No subscription required
Activity – Developing latent prints on textured plastic
The varied ridges and valleys on textured surfaces make it difficult to develop latent prints using classic fingerprint powder because the powder will settle into the valleys, obscuring the print detail.
Materials needed:
- Camera or cell phone to take photos
- Items made of textured plastic
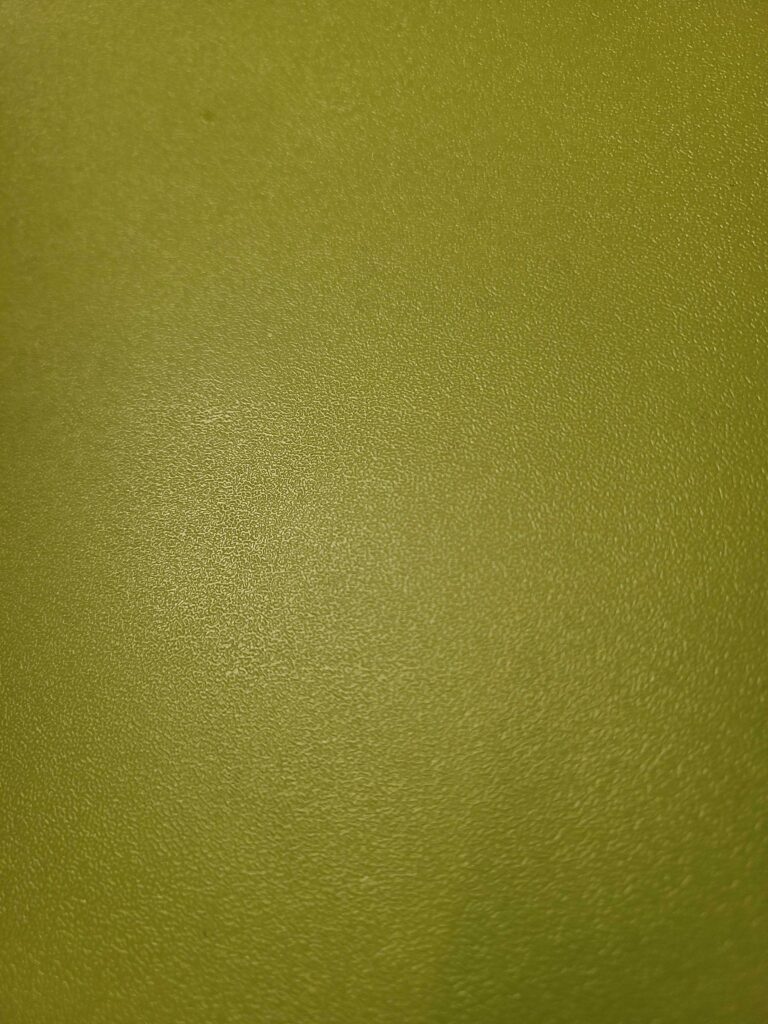
💡 Pro Tip: Look for plastic surfaces with subtle texture (see the examples pictured below) that you can discard when finished. Do not use food-related items that you want to reuse.

Steps
- Collect your plastic samples near your work area.
- Put on your mask and gloves.
- Follow the procedure to dust the plastic samples for latent prints.
- Put on the orange safety glasses.
- The glasses will increase the visibility of the fluorescent powder under the UV light.
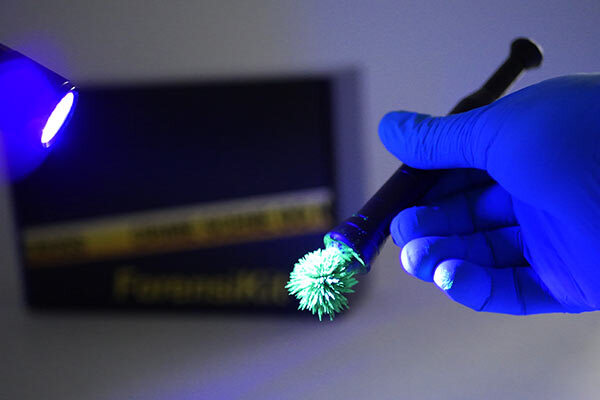
- Use the UV light to illuminate each print.
- Keep the UV light about 20 inches from the print surface.
- Adjust the aim of the UV light to find the position that most enhances the visibility of the print. An indirect angle is often best.
- Use your cell phone or camera to photograph each illuminated print.
- It may help to have another person hold the UV light while you take the photos.
- Share your fluorescent magnetic print photos on Instagram with the hashtag #forensikitGLOW
- Your photos will be displayed here at forensikit.com as examples for other ForensiKit users.

Fingerprint lifted with fluorescent green magnetic fingerprint powder. #teampixel #crime #csi#forensikitGLOW
Fingerprint lifted with fluorescent red magnetic fingerprint powder. Illuminated under 400 nanometer UV light. #teampixel #crime #csi #macro #teampixelmacro #forensikitGLOW
Activity – Developing latent prints on a magnet
Typically, magnetic powder isn’t recommended for use on surfaces that are attracted to the magnet like steel, nickel, and other metals. However, in some cases, using magnetic powder will result in a clearer print.
Materials needed:
- Newspaper, plastic bag or similar to cover the work surface
- Any household magnet
- 💡 Pro Tip: The larger the magnet, the easier this activity will be
- Cell phone or camera
Steps
- Cover your work surface with newspaper.
- Put a fingerprint on the magnetic side of a household magnet.
- Carefully pour some magnetic powder on the print.
- Tap the magnet on your work surface to remove any excess powder from the print.
- Use the magnetic applicator want to pick up the excess powder and return it to the vial.
- Use your cell phone or camera to photograph the print.
- Use the UV light to enhance the visibility of the print if needed.
- Share your fluorescent magnetic print photos on Instagram with the hashtag #forensikitGLOW
- Your photos will be displayed here at forensikit.com as examples for other ForensiKit users.
Additional Resources
- Choosing the Best Fingerprint Powder for Your Scene – Evidence Technology Magazine
- Magnetic Powder – Crime & Clues
- Techniques for Collecting and Analyzing Fingerprints – Forensic Science in North Carolina
- Chapter 7: Latent Print Development | The Fingerprint Sourcebook [PDF] – National Criminal Justice Reference Service
Need more powder?
Fingerprint Powder
Need another wand?
Magnetic Applicators
Need another light?
UV Light