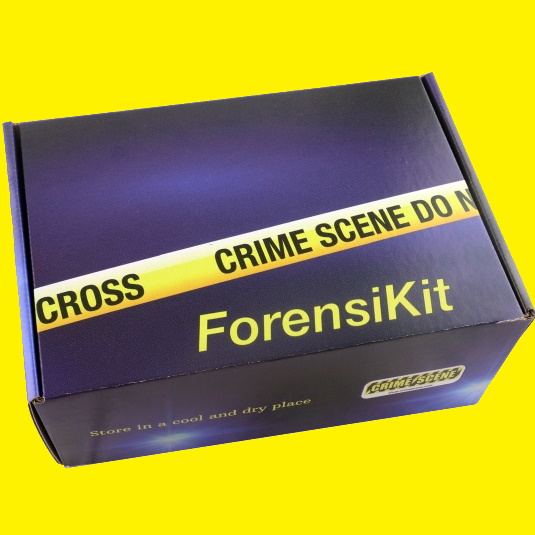
The ForensiKit: Footprint Casting box includes
- One 5-pound container of casting compound
- Two 2-pound bags of Traxtone casting powder
- One plastic casting container
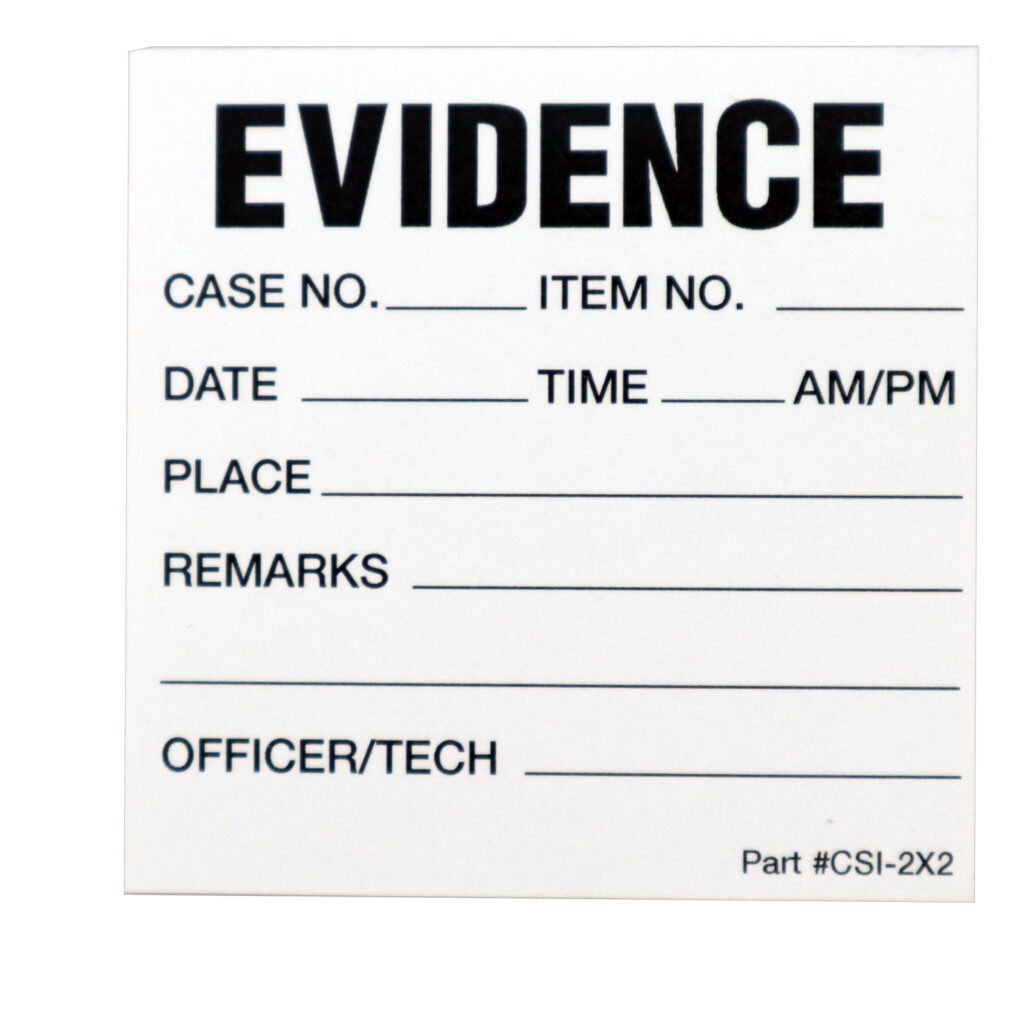
- One 5-pack of 2” x 2” evidence labels
- One 2-ounce bottle of dirt hardener AKA hairspray
- One activity insert (Download another copy [PDF])
- One packing list (Download another copy [PDF])
No subscription required

How to make a casting frame
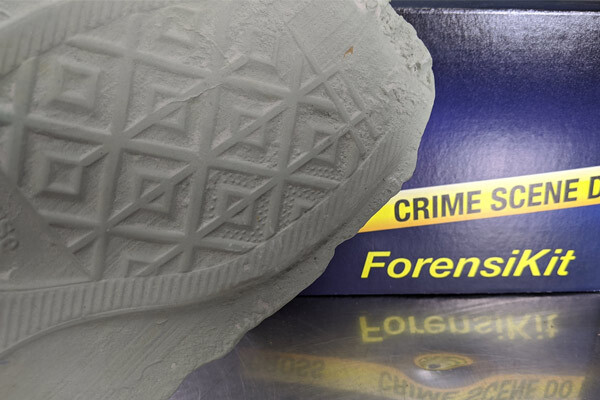
Using Traxtone & casting compound
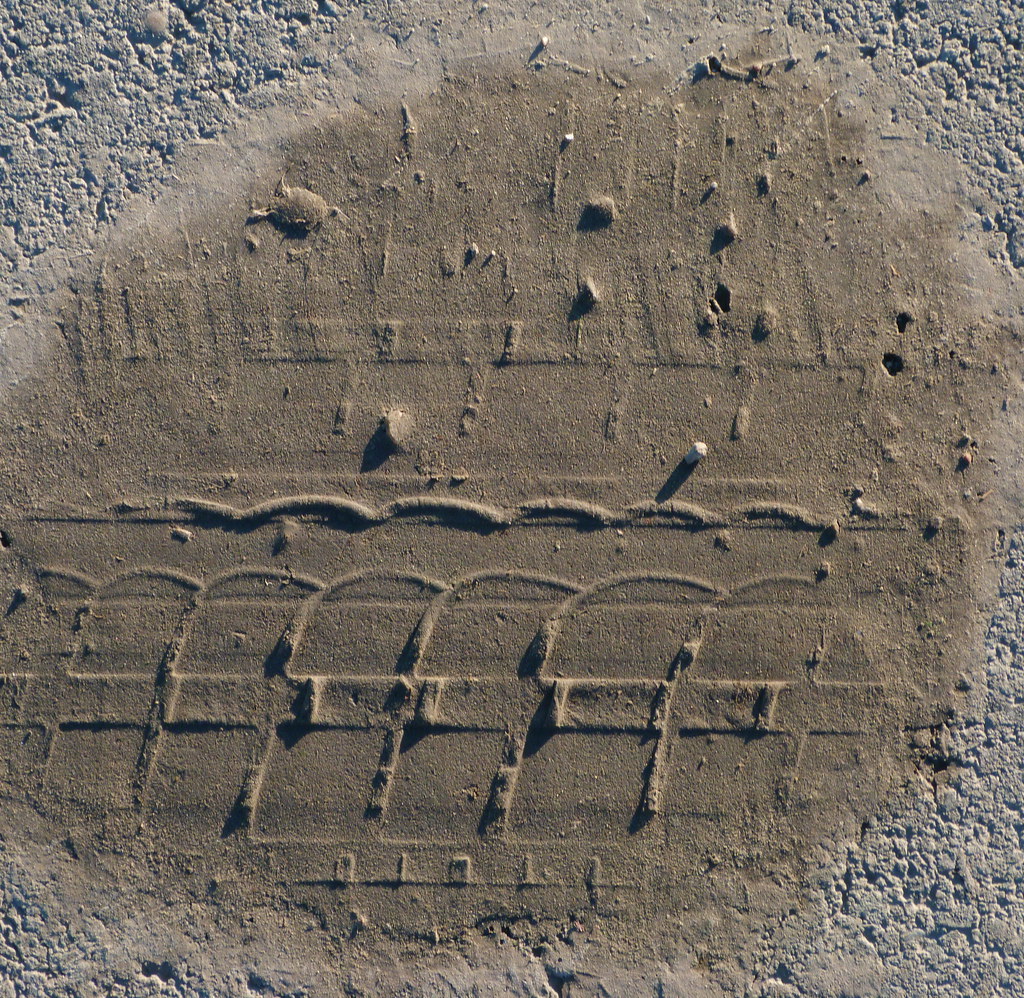
Activity – Identify a tire track
💡 Tip: We’re starting with something already known, as opposed to something you need to find out.
Materials needed:
- Casting frame
- Ruler or tape measure
- Camera or cell phone to take photos
- Pen and paper or digital alternative to document your findings
Steps
- Have an adult use a car or other vehicle to create a tire track
- Follow the Traxtone Casting Procedure on the activity insert included in your ForensiKit to make a cast of the tire impression.
- Use the Evidence Labels included in your ForensiKit to document the date, time, place, etc.
- Take multiple images of the tire used to make the impression.
- Compare the cast to the photographs.
- Make a list of specific observations that would help you prove the cast has the same tread as the tire.
- Are there any specific identifying characteristics such as a patch or wear pattern?
- Does measuring parts of the tread help?
Did you know?
Forensic examinations of tire tracks and footwear impressions result in one of four findings.
- Individualization — the class, wear, and unique characteristics of the unknown impression and the known shoe or tire sufficiently match with no unexplainable differences.
- Elimination — the class, wear, and/or individual characteristics are not sufficiently similar between the unknown impression and the known shoe/tire, and the known shoe/tire is excluded as a match.
- Inconclusive — the quality or quantity of information from the unknown impression is insufficient to reach a meaningful scientific conclusion.
- Association — the class, wear, and some unique characteristics agree between the unknown impression and the known shoe/tire, but are not sufficient to be certain of a match. Findings can vary from likely to could have, to similar but lacking sufficient detail to be conclusive.
For more information, see the A Simplified Guide To Footwear & Tire Track Examination via http://www.forensicsciencesimplified.org/
Activity – Identify tool impressions
Materials needed:
- Spare piece of wood, preferably pine, like a 2×2 or 4×1 board
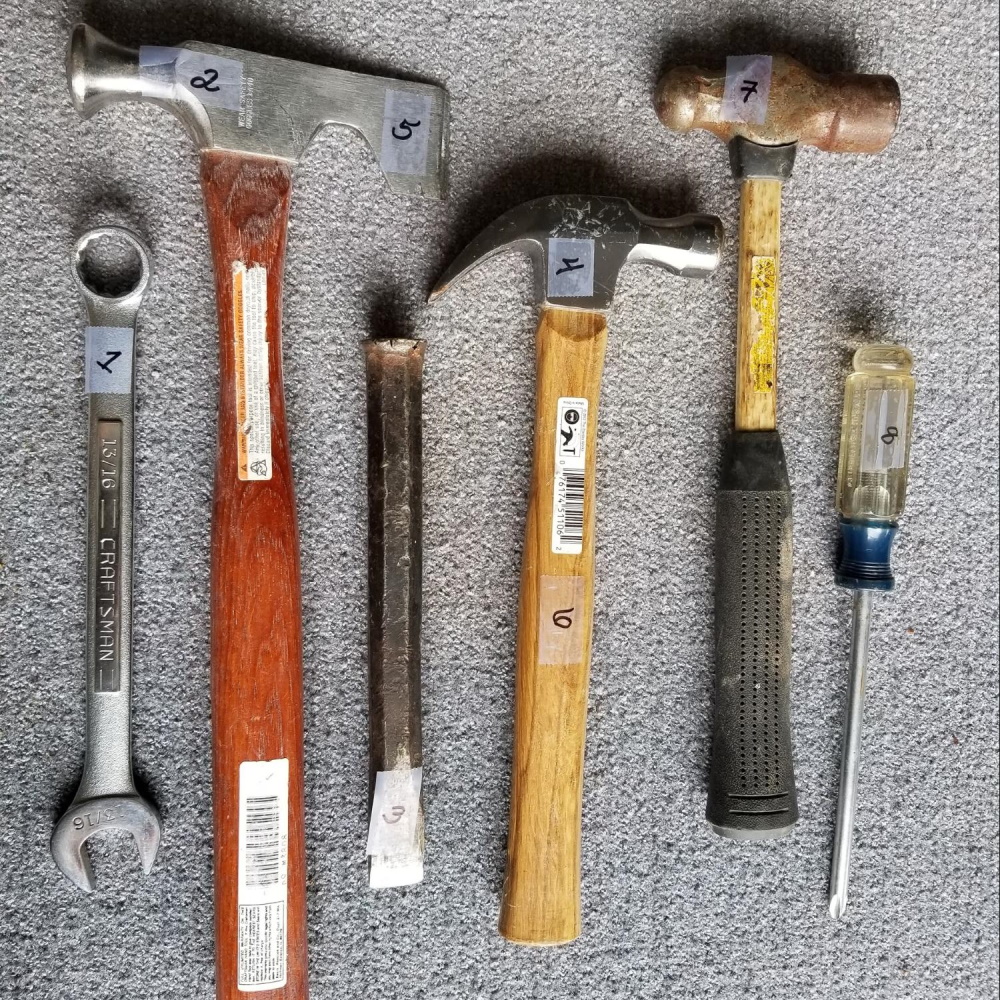
- Assorted tools (e.g., hammer, wrench, etc.)
- 💡 Tip: If you don’t have hand tools, you can use scissors, a kitchen mallet, a pepper grinder, a bottle of steak sauce, etc. The items just need to be heavy enough to leave an impression and do some damage as a weapon.
- Clear tape or masking tape
- Marker or pen that will write on the tape and the wood
- Ruler or tape measure
- Camera or cell phone to take photos
- Pen and paper or digital alternative to document your findings
💡 Tip: To make this activity more challenging, choose multiple hammers, wrenches, etc., that might leave similar impressions.
Steps
- Use the tape and marker to number each tool.
- Place your board on the ground.
- 💡 Tip: You may want to do this outside if you have downstairs neighbors or are concerned about accidentally hitting your floor with the tools.
- Strike the board with a significant blow using the tool you numbered 1.
- Write a “1” on the board near the impression you made with Tool 1.
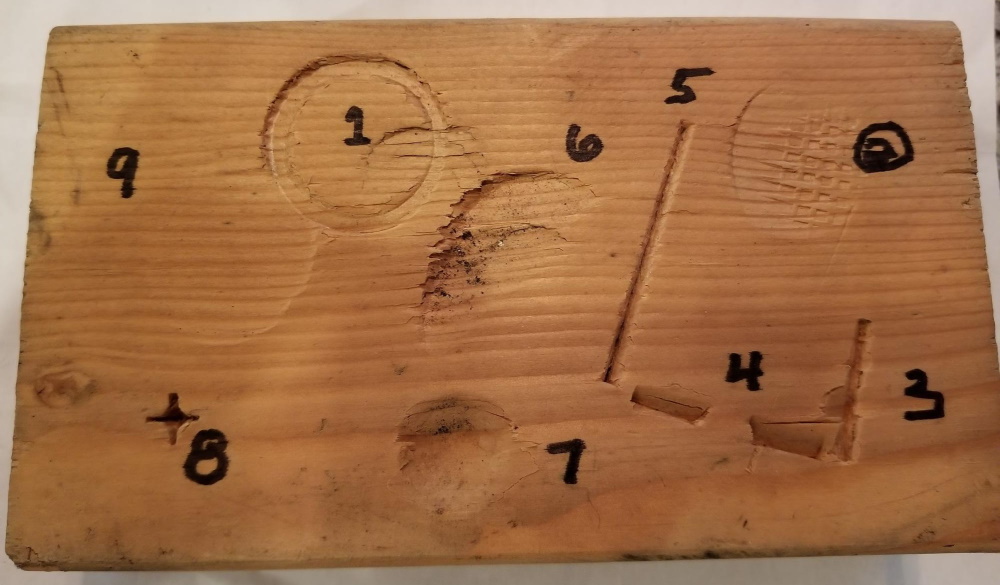
- Repeat for each numbered tool, making sure the number on the board matches the number on the tool.
- 💡 Tip: Be careful NOT to make the impressions too close together. Make sure you leave at least an inch between them.
- Bonus Challenge — Have a member of your group secretly select another tool and use it to make an impression on the board.
- Number the impression on the board but not the tool itself.
- Do not add the mystery tool to your collection of numbered tools.
- Photograph the numbered board and the numbered tools for reference.
- Follow the Traxtone Casting Procedure on the activity insert included in your ForensiKit to make a cast of the impressions on the board.
- While the cast sets, remove the numbers from the tools.
- When the cast is ready, compare the tools to the cast of the impressions.
- Can you match each tool to its cast impression?
- 💡 Tip: Use your reference photos to check your findings.
- Bonus Challenge — Can you determine what kind of tool made the mystery impression? Can you identify the specific tool?
- 💡 Tip: Ask the group member who made the mystery impression to check your findings.
- Can you match each tool to its cast impression?
Need more evidence labels?
Evidence Labels
Need more Traxtone?
Traxtone Footprint Casting Powder

Want to level up?
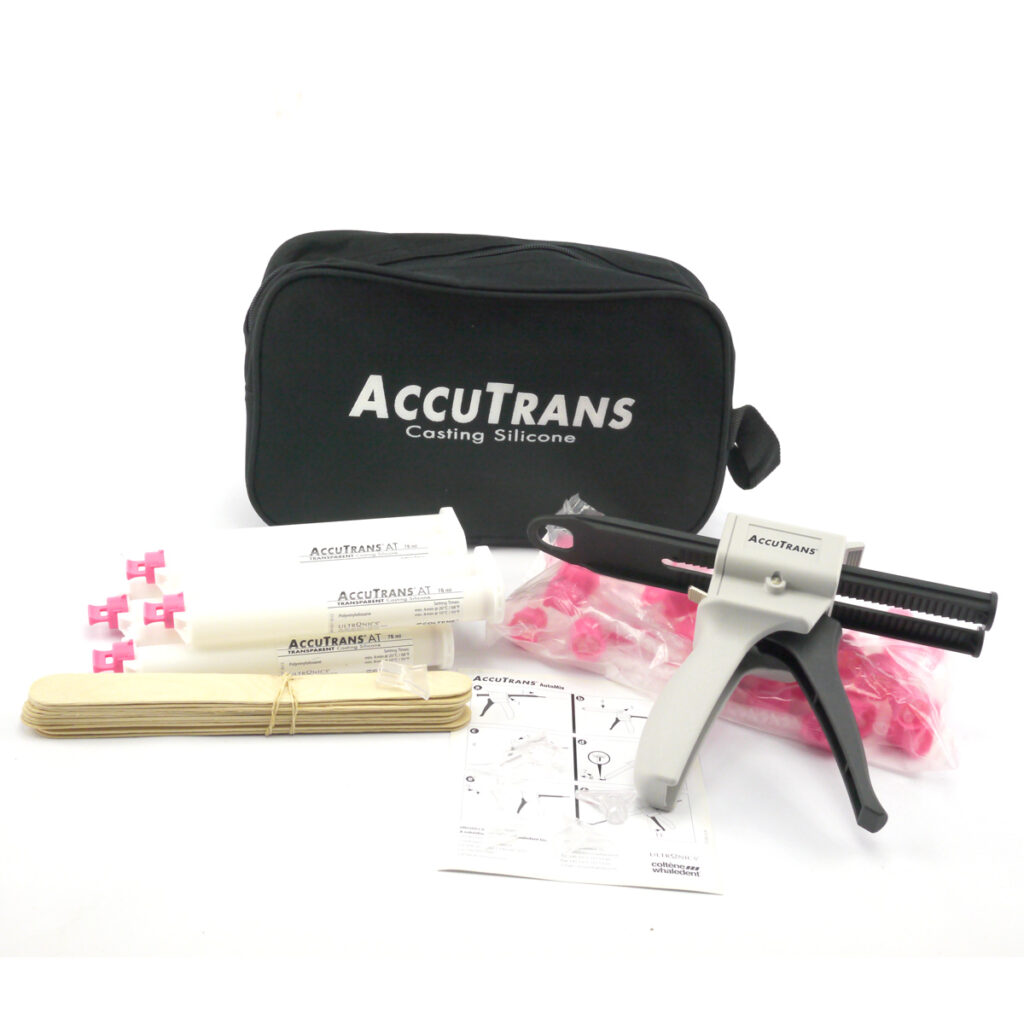
AccuTrans Kit