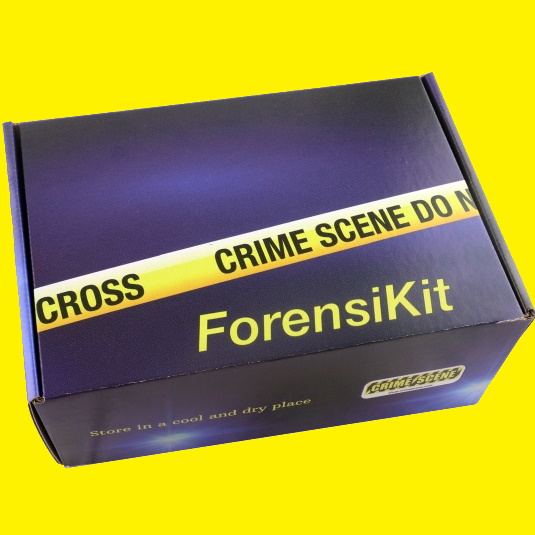
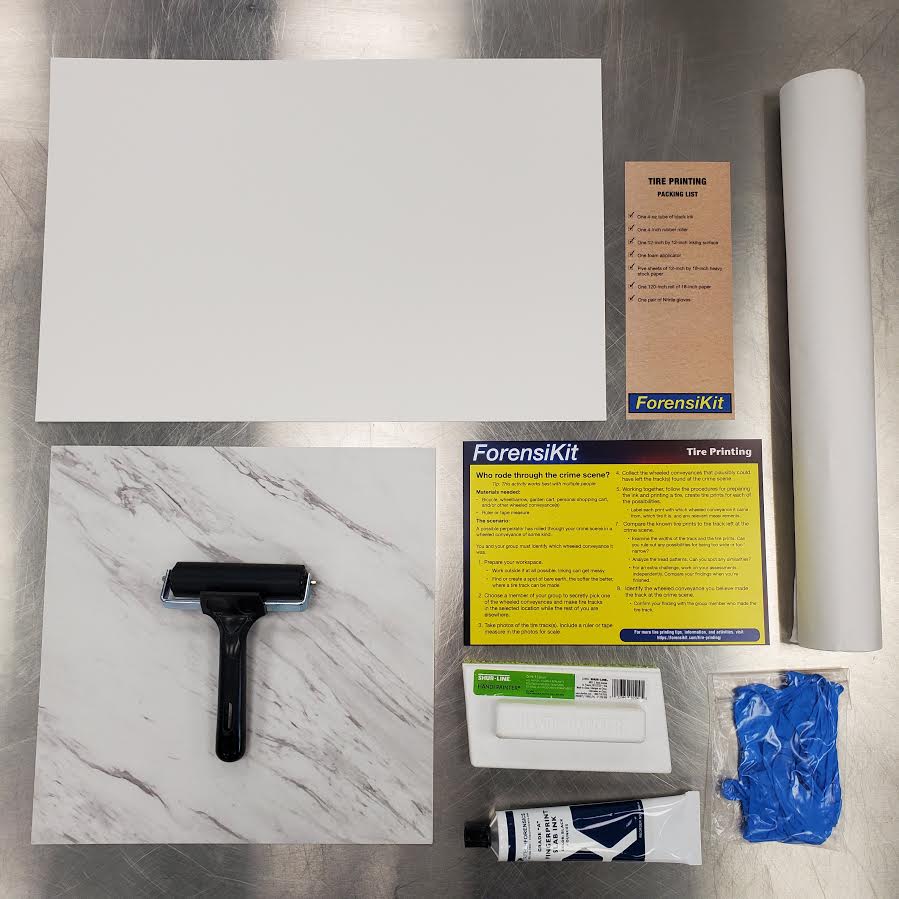
The ForensiKit: Tire Printing box includes
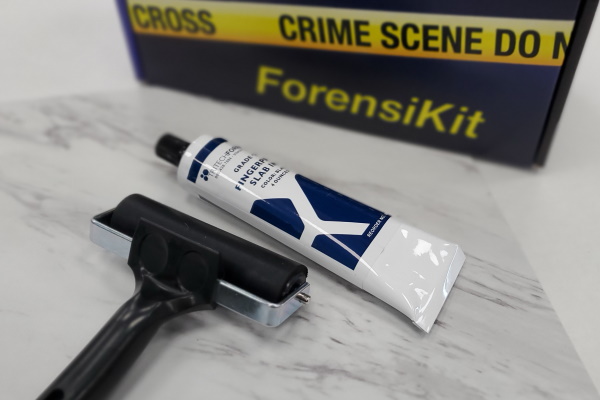
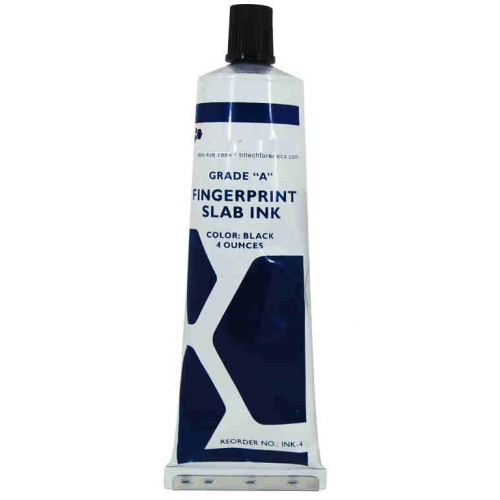
- One 4-oz. tube of black ink
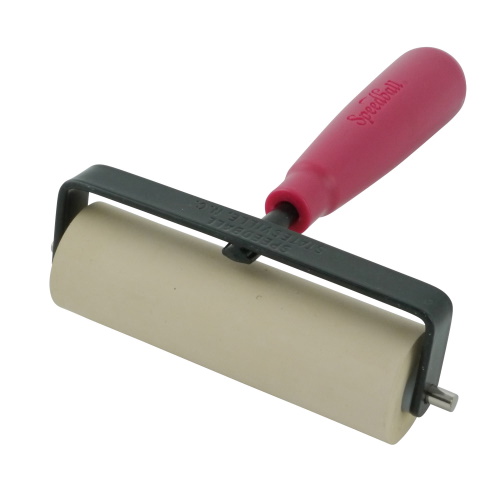
- One 4-inch rubber roller
- One 12-inch by 12-inch inking surface
- One foam applicator
- Five sheets of 12-inch by 18-inch heavy stock paper
- One 120-inch roll of 18-inch paper
- One pair of Nitrile gloves
- One activity insert (Download another copy [PDF])
- One packing list (Download another copy [PDF])
No subscription required
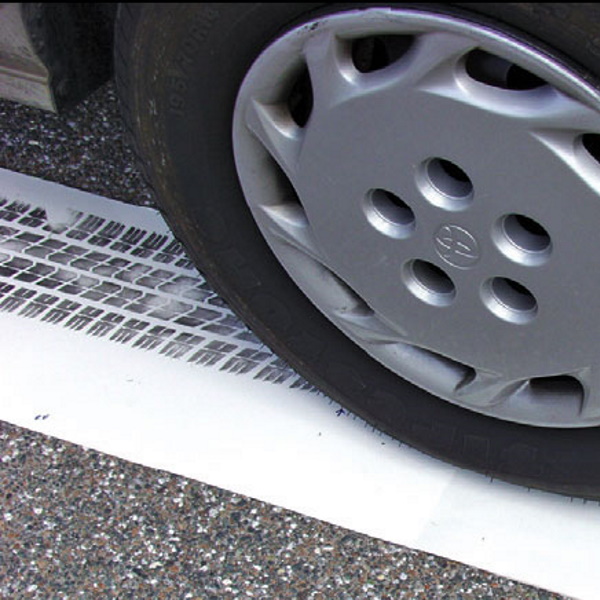
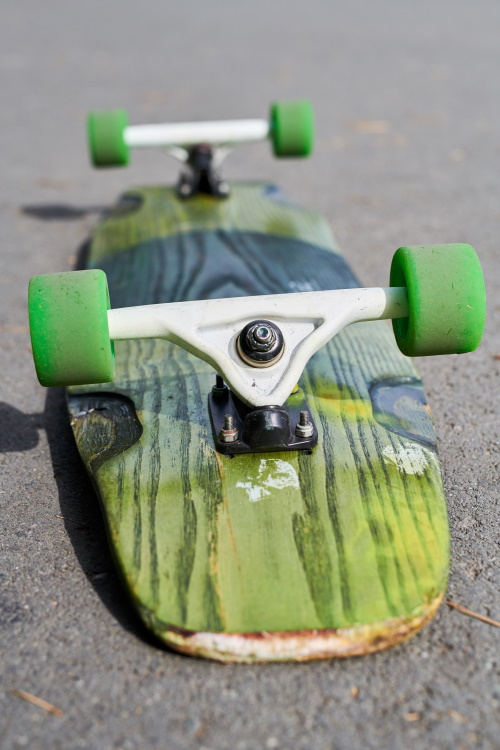
Activity – Examine smooth wheel prints
Smooth wheel prints are more difficult to identify than treaded tire prints, but it can be done in some situations.
Materials needed:
- Longboard, skateboard, roller skates or similar
- Pen or pencil
- Camera or cell phone to take photos (optional)
Steps
- Follow the Preparing the ink and Printing a tire procedures to collect prints of your longboard’s wheels.
- Do imprints of the front two wheels first, and then do the back wheels.
- On the paper where you made the inked prints, draw arrows and write comments to highlight unique features of the wheel imprints.
- Document any chips, cracks, indents, pockmarks, etc.
- Identify the make and model of the wheels, if you can.
- Did you find enough unique traits to conclusively match the longboard to the wheel prints?
Additional Resources
- Longboard Wheels Explained (Comprehensive Guide) – Lush Longboards
- Choosing Longboard Wheels – Tactics Board Shop
- Tire Tread and Tire Track Evidence: Recovery and Forensic Examination [PDF]– William J. Bodziak
- Standard for Terminology Used for Forensic Footwear and Tire Impression Evidence [PDF] – NIST.gov
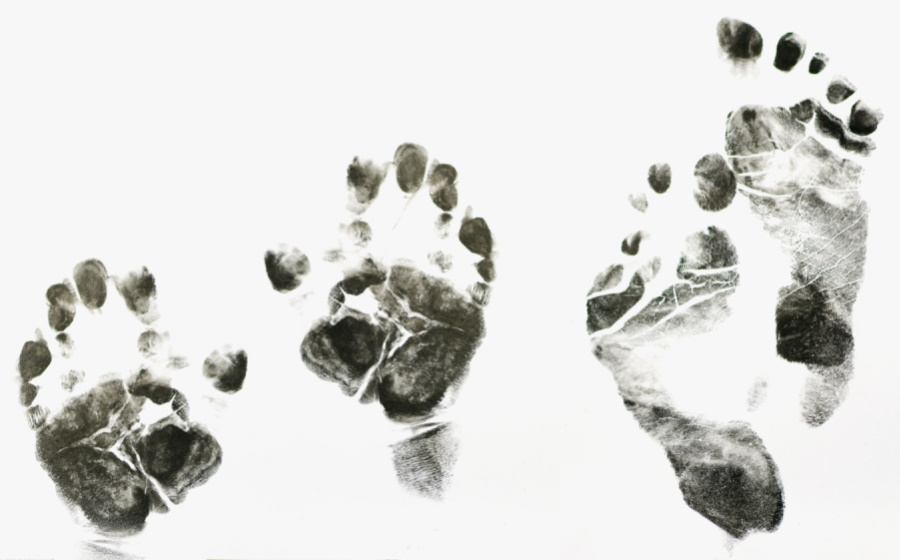
Activity – Collect palmprint and footprint exemplars
Much like fingerprints, palmprints can be matched to a particular person by comparing the ridge patterns in the known print and the unknown print.
Prints of bare feet at a crime scene can also be identified by analyzing ridge patterns, especially under the toes, or by employing a technique called forensic barefoot morphology, which examines the impressions of the weight-bearing areas of the foot.
But after you’ve collected the prints from the crime scene, you need something to compare them to — exemplars from your suspect(s).
Materials needed:
- Pen or pencil
- Camera or cell phone to take photos (optional)
Steps
- Follow the Preparing the ink and Printing a palm or foot procedures to collect palmprints, footprints, or both.
- 💡 Pro Tip: You need far less ink to get a footprint or palmprint than you do for a tire print. Be careful not to put too much ink on the inking surface.
- Before taking the print, write the person’s name on the back of the piece of paper you’ll put their print on.
- Examine the prints and take note of points of identification in the ridge patterns like bifurcations and irregular endings.
- Take digital photos to zoom in and see more detail.
- Did you find enough unique points of identification to be able to conclusively match the exemplars to unknown prints?
- For an extra challenge, take another print from someone in your group. Without looking at the names of the backs of the exemplars, can you match the new print with the correct exemplar?
Additional Resources
- Experts reveal everyone has unique ridges and grooves on their feet – Daily Mail Online, 17 March 2016
- Bare footprint metric analysis methods for comparison and identification in forensic examinations: A review of literature – PubMed
- Analyzing Palm Print Shapes with Pressure and Distortion [PDF] – The University of Southern Mississippi
Need more ink?
Fingerprint Slab Ink, Grade A
Need another roller?
Fingerprinting Ink Roller
Want to level up?
Tread Print Kit